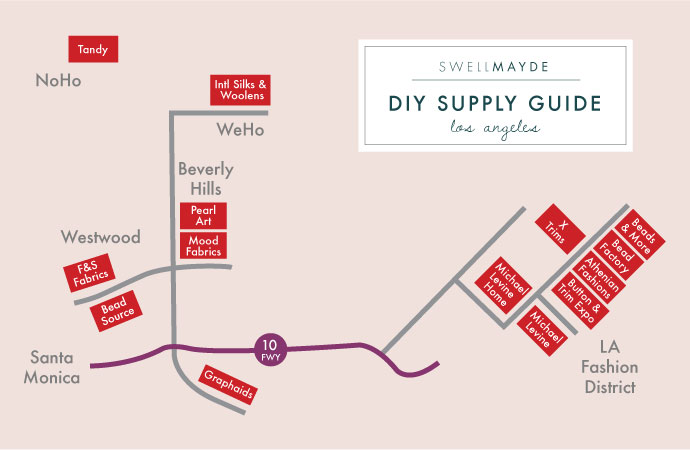
 On my personal blog SwellMayde, one of the most asked questions is about where to buy supplies. Having lived in LA most of my life, and gone to school in the heart of the LA fashion district, I compiled a list of my go-to spots for supplies. Hope you all find it pretty handy! :)
I separated the list by areas in Los Angeles, since the stores are a bit spread apart.
Note: I have only gone to their actual store locations, and have not personally purchased from their websites. Please stay tuned for a list of online sites that I buy materials from. :)
LA Fashion District:
Fabrics:
1. Michael Levine (here)
920 Maple Avenue
Los Angeles, CA 90015
Phone: 213-622-6259
Mon - Sat 9:00am - 5:30pm
Sun 11:00am - 4:00pm
You can find every type of fabric here at great prices. Beautiful finds go fast. Snatch your favorite fabrics when you first eye them, because chances are they might not be there the next time go. They also carry sewing supplies and a wonderful array of trim.
2. Michael Levine Home (here)
919 Maple Ave.
Los Angeles, CA. 90015
Phone: 213-689-1363
Mon - Sat: 9 am - 5:30pm
Sun: 11am - 4 pm
This is a great place for upholstery and outdoor fabrics, with good prices as well. I often stop here for my vinyl and pleather.
Trim/ Jewelry Supplies:
1. Button & Trim Expo
828 Maple Ave
Los Angeles, CA 90014
Phone: (213) 622-2323
Mon - Thu, Sun: 9 am - 6 pm
Fri: 9 am - 4 pm
I love stopping by here for trim inspiration or when I'm on the hunt for something very specific. Fringe, lace, sequin, and beaded trim galore!
2. X Trims & Leathers (here)
811 S Maple Ave
Los Angeles, CA 90014
Phone: (213) 622-8585
Mon - Sat: 9 am - 5 pm
Sun: 10 am - 5 pm
Awesome place for hardware, especially for accessories, such as leather bags.
3. Athenian Fashions (here)
820 S Maple St #5
Los Angeles, CA 90014
Phone: (213) 623-1289
They have an awesome selection of jewelry supplies from beads to chains to studs. A little pricier than other spots, but the quality is great.
4. Bead Factory (here)
810 S. Maple Ave.
Los Angeles, CA 90014
Phone: (213) 624-2121
Mon - Fri 9am-4pm
Sat 8am-1pm
Sun closed
This place can get pretty crowded, and once you check out their awesome selection of beads and chains and unbeatable prices, you will see why.
5. Beads & More (here)
800 Maple Ave Ste A
Los Angeles, CA 90014
Phone: (213) 955-9000
An amazing selection of beads and jewerly materials. Slightly on the pricier side, but I have on more than one occasion found very unique beads and studs that I could not find anywhere else.
West Hollywood / Beverly Hills:
1. International Silks & Woolens (here)
8347 Beverly Blvd
Los Angeles, CA 90048
Phone: (323) 653-6453
Mon - Sat 9am - 6pm
Sun - 11am - 5pm
Beautiful array of fabrics, especially silks and wool, a little on the pricier side. I love sifting through their vintage fabric section.
2. Mood Fabrics (here)
6151 W Pico Ave
Los Angeles, CA 90035
Phone: (323) 653-6663
Mon- Fri 9:30am - 6:30pm
Sat 10am - 5pm
Sun closed
They have an amazing selection of fabrics. This was my go to spot for beautiful knit jerseys and cotton shirtings. They even receive remnant fabric from great designers like Marc Jacobs and Helmut Lang. They also have a great variety of leather.
3. Pearl Art (here)
1250 La Cienega Boulevard
Los Angeles, CA 90035
Phone: (310) 854-4900
Mon-Sat 9:30am - 8:30pm
Sun 11am - 6pm
After Mood, I would come here for all my art school needs, from paint to drawing psncils, and they offered a student discount.
Culver City:
1. Graphaids (here)
3030 La Cienega Blvd
Culver City, CA 90232
Phone: (310) 204-1212
Mon-Fri 8am - 5:30pm
Sat 10am - 4pm
Each time other art supply stores in LA would be sold out of a certain something I was looking for, this store seemed to always have it in stock.
Westwood:
1. F&S Fabrics (here)
10629 West Pico Boulevard
Los Angeles, CA 90064
Phone: (310) 475-1637
Mon-Sat 9:30am - 6pm
Sun 12pm - 5pm
Wide array of amazing fabric selection, but slightly on the pricier side. Also, they have beautiful trim such as laces, ribbons, and an eclectic mix of buttons.
2. Bead Source
10606 W Pico Blvd
Los Angeles, CA 90064
Phone: (310) 841-2636
When I can't make it all the way downtown, this is my go to spot for all things jewelry from beads to tools.
North Hollywood:
1. Tandy Leather Factory (here)
6436 Bellingham Ave
San Fernando Valley, CA 91606
Phone: (818) 763-1264
Mon-Fri 9am - 6pm
Sat 9am - 4pm
Sunday: Closed
A bit of a drive away from LA, but I love this place. They carry everything leather related from tools to dyes and the staff is very knowledgeable. They also offer classes to learn more about leather and leather crafting.


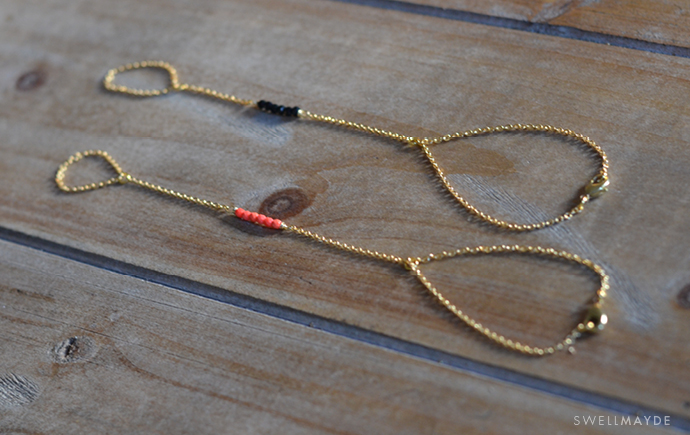 Last month, I hosted my very first Instagram contest (
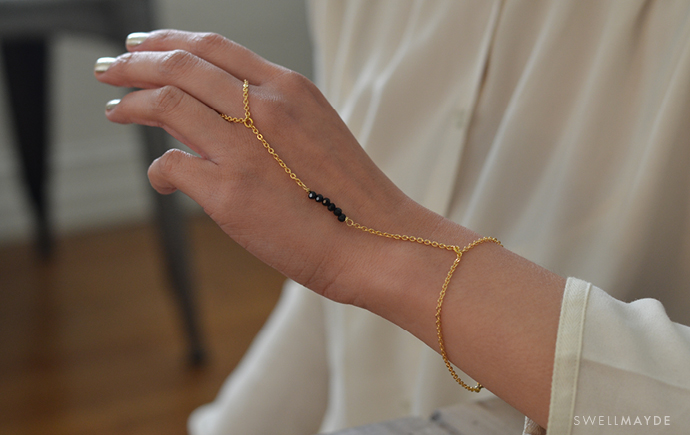
 A big congrats to KatBerry8 on winning the hand chain. Thank you to everyone who entered! Next DIY Inspo contest coming soon!!!
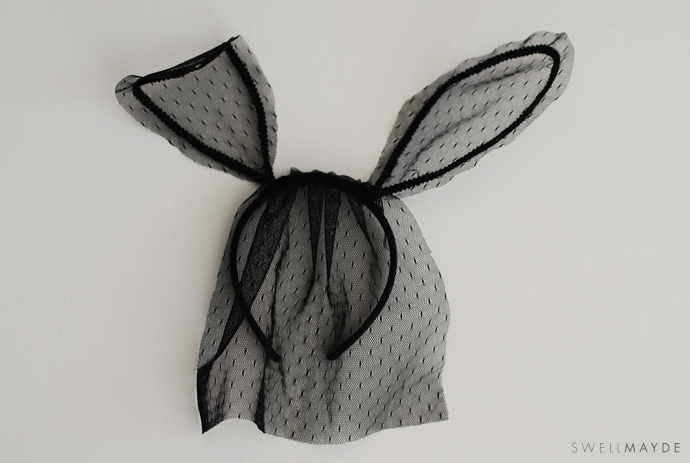
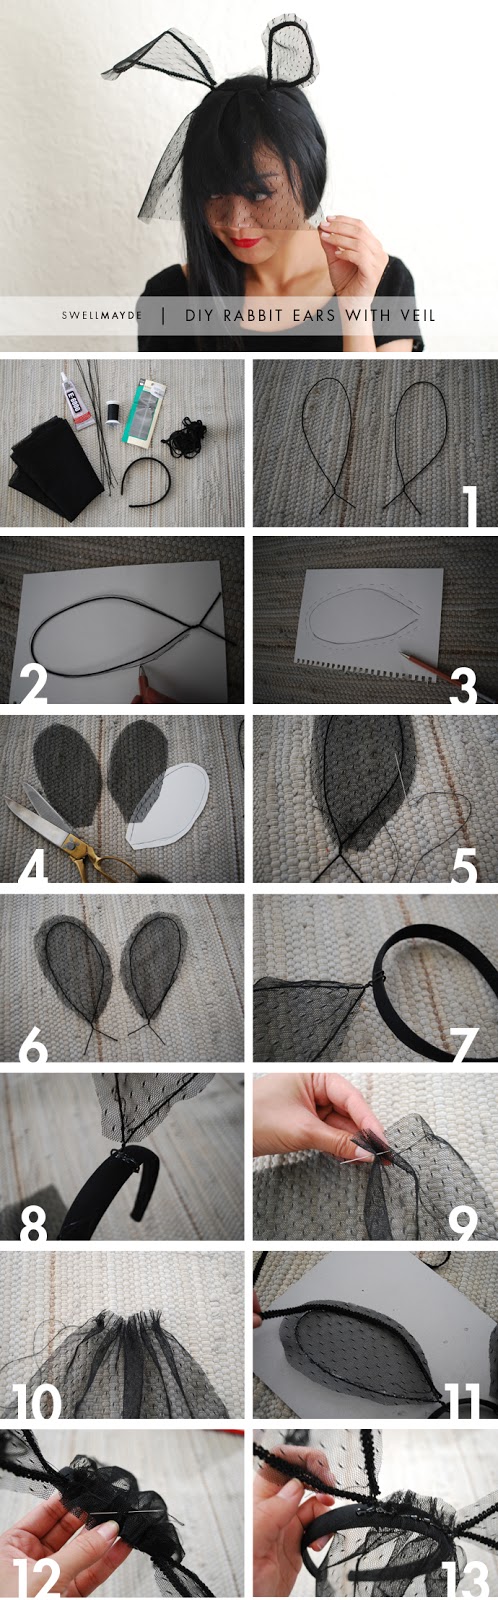
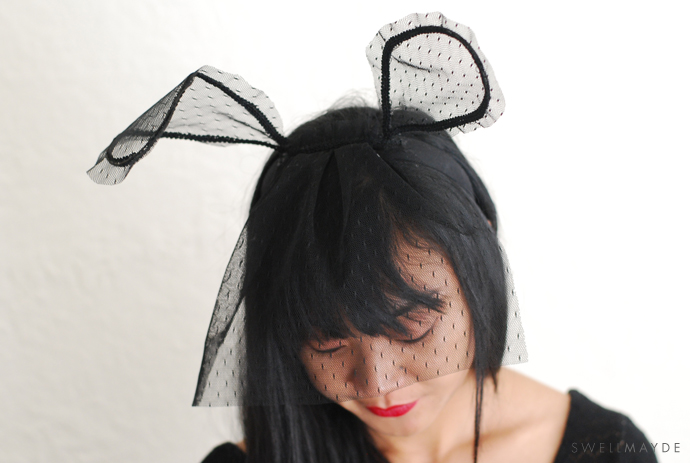
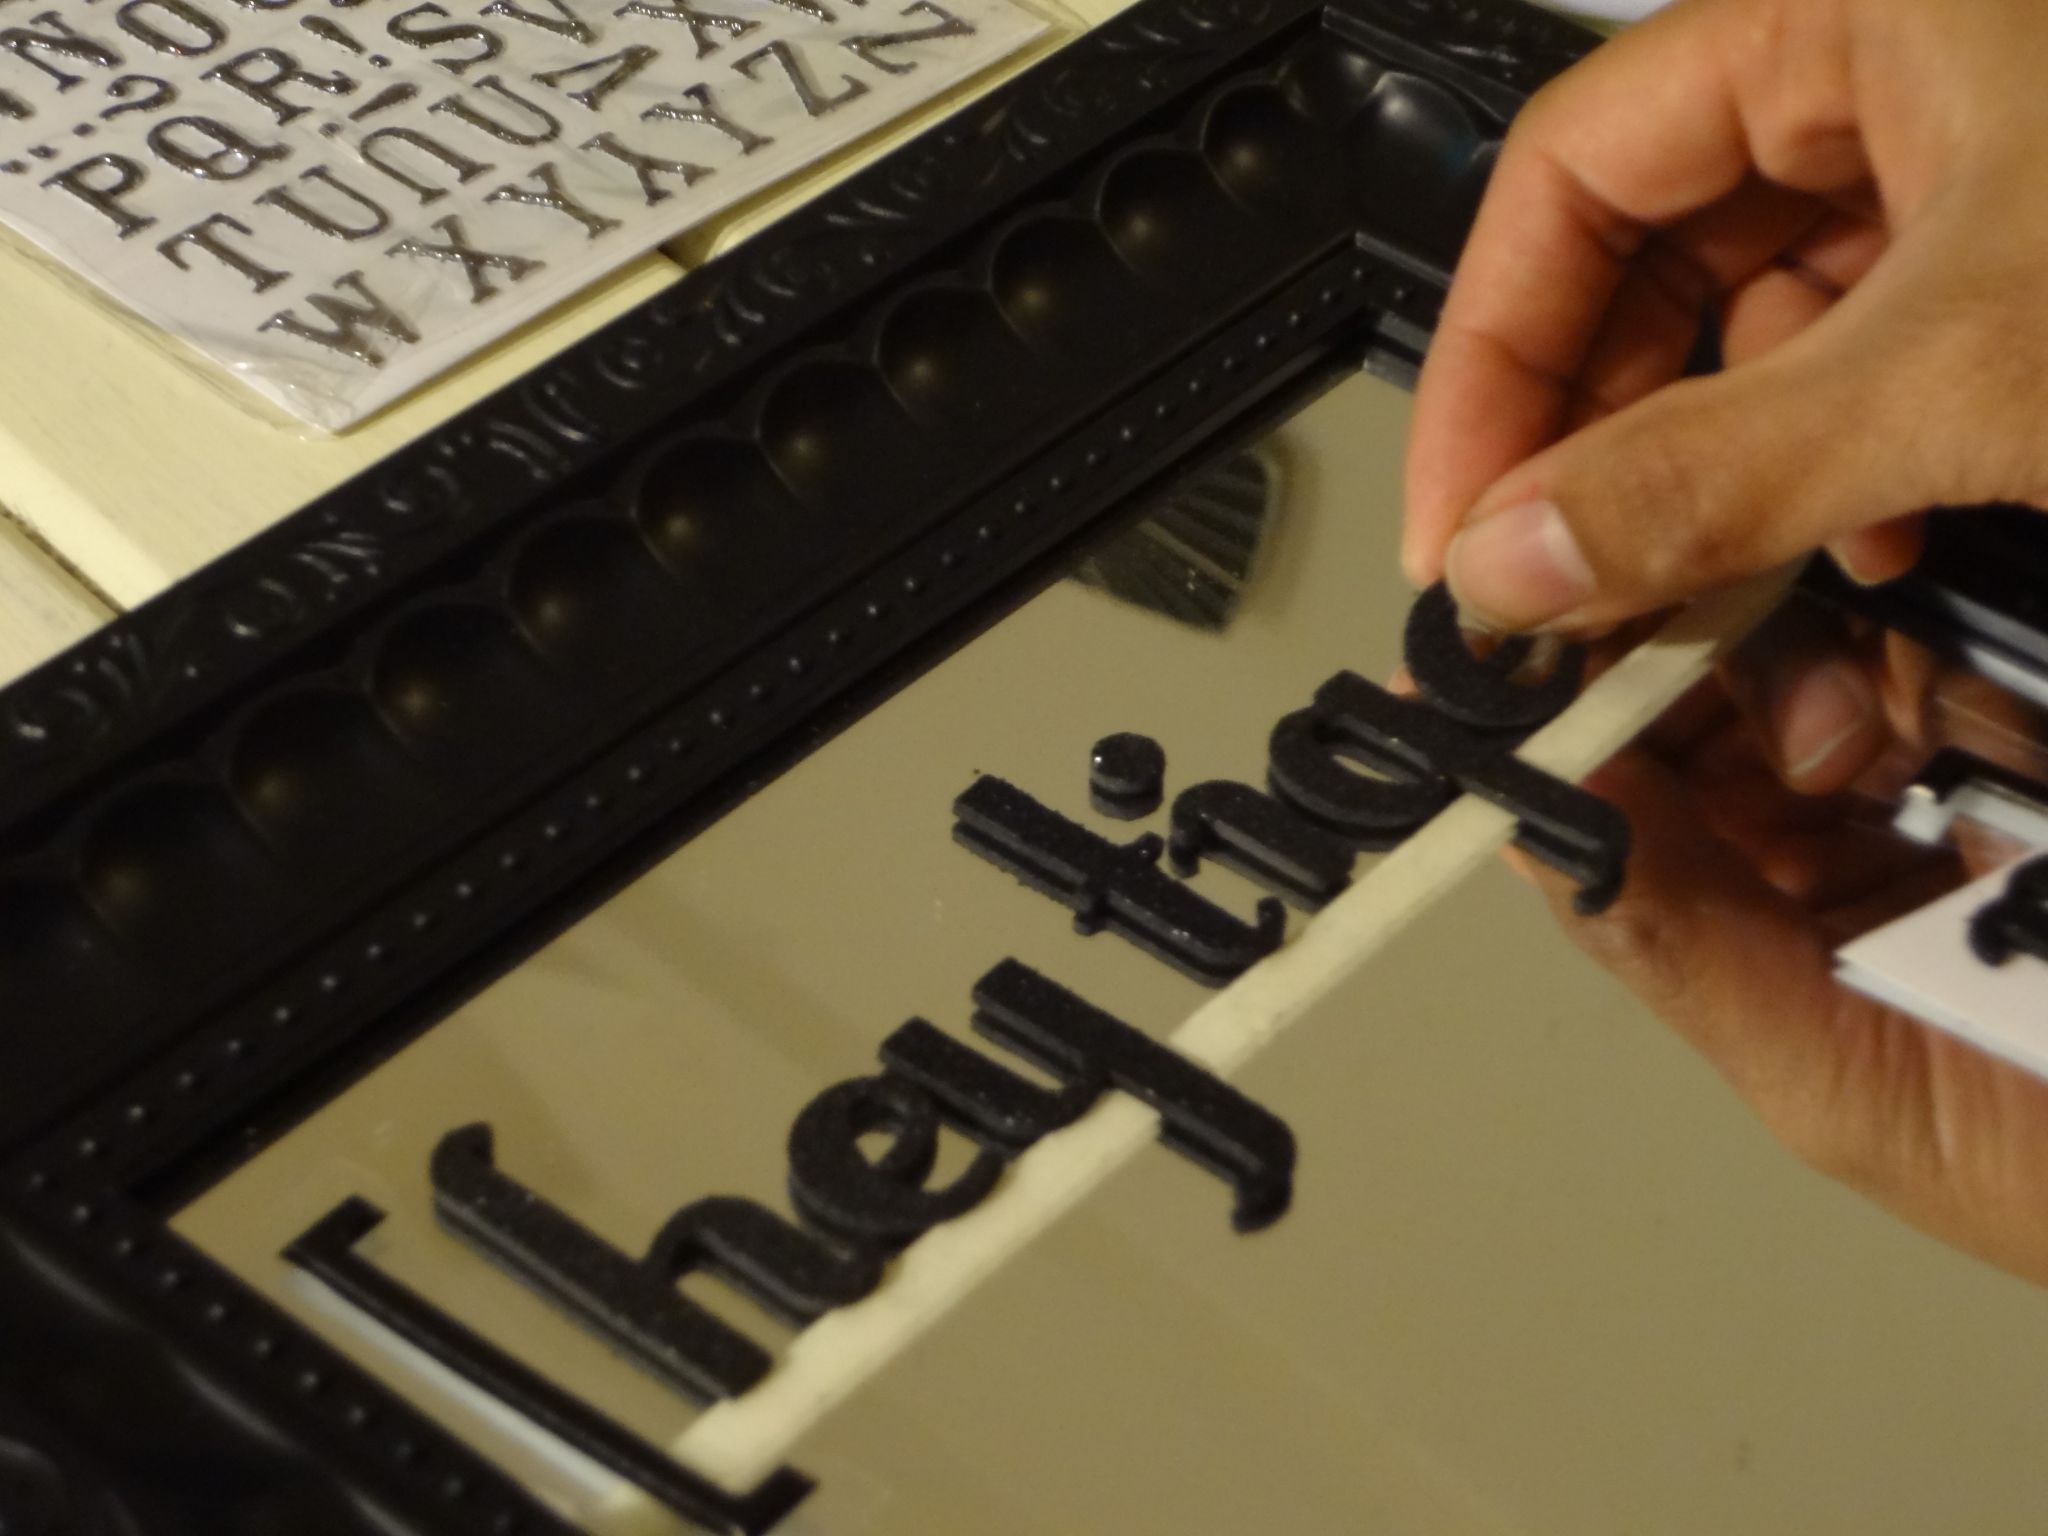
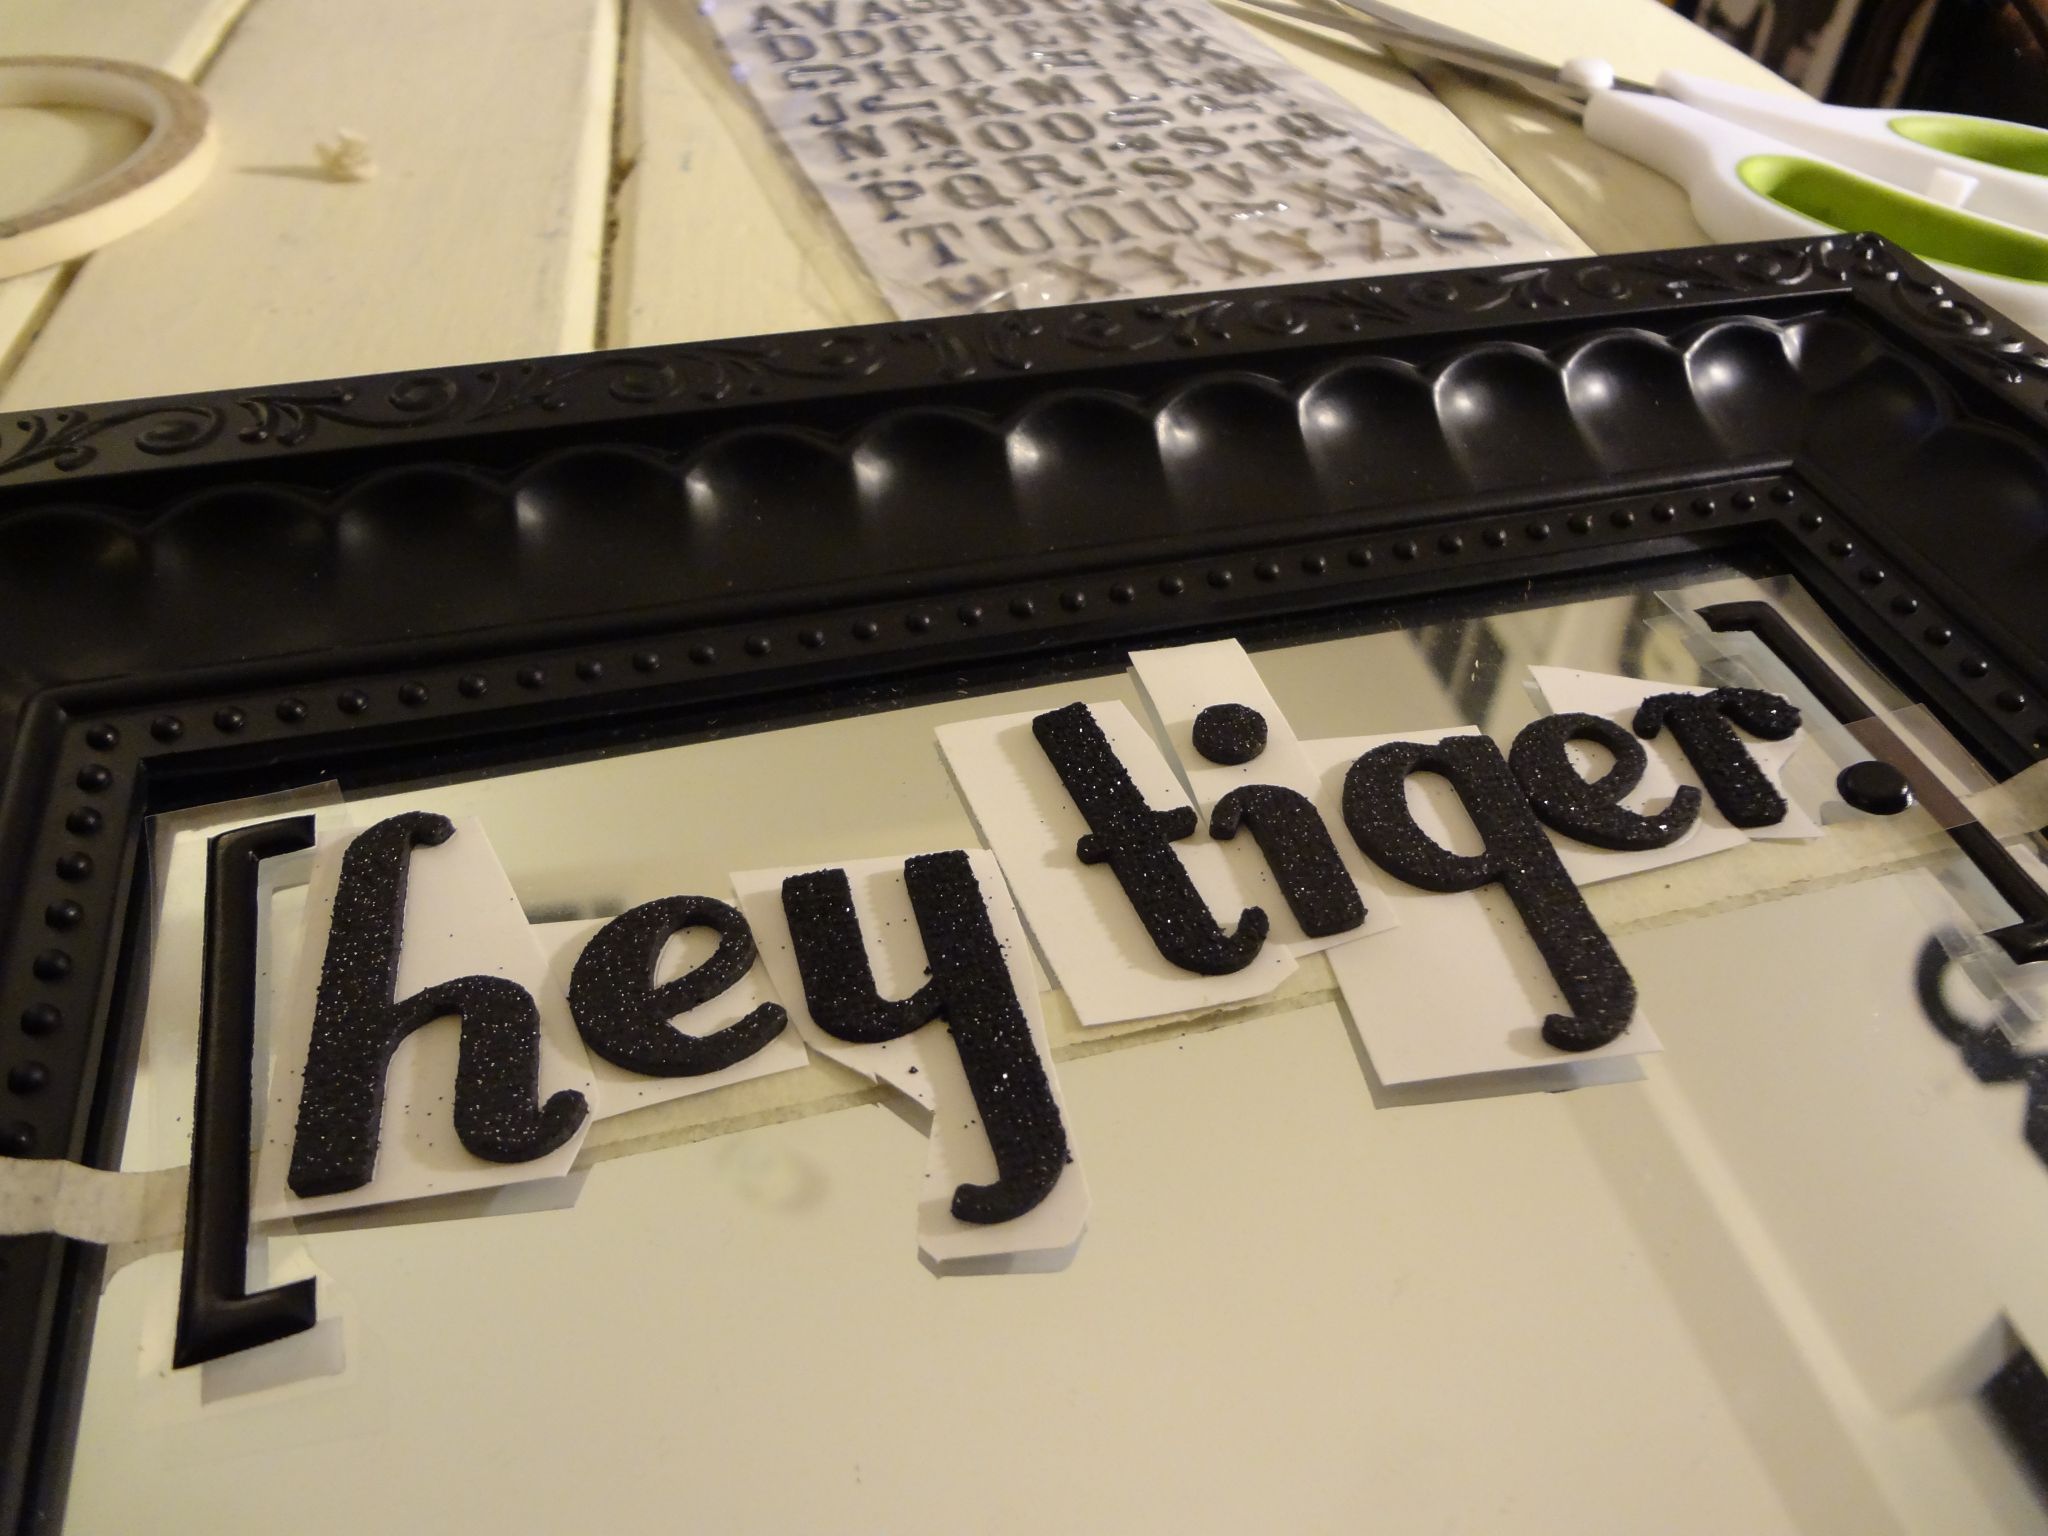
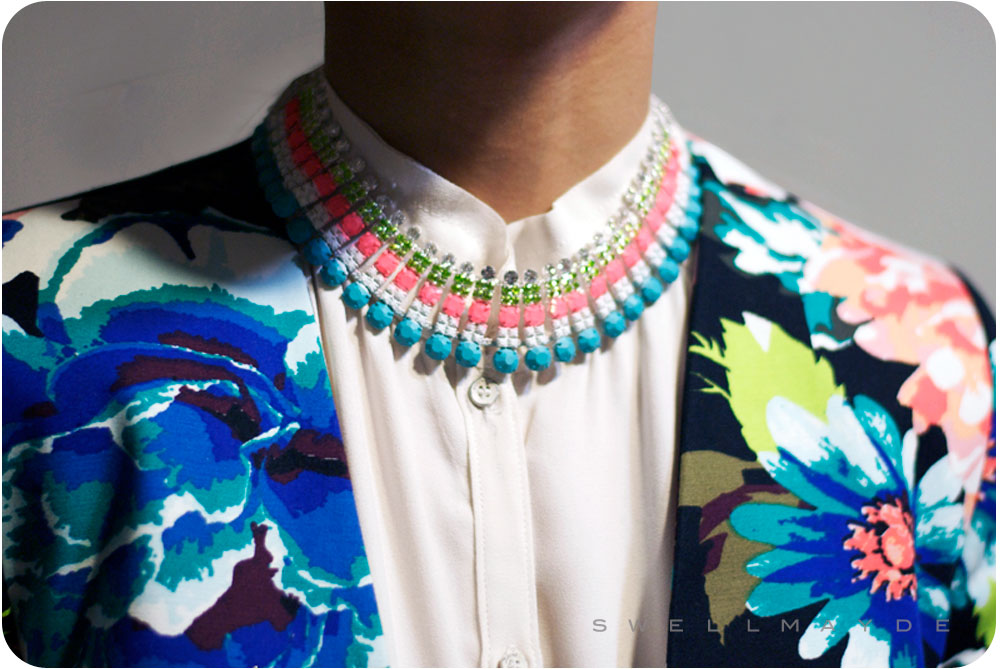
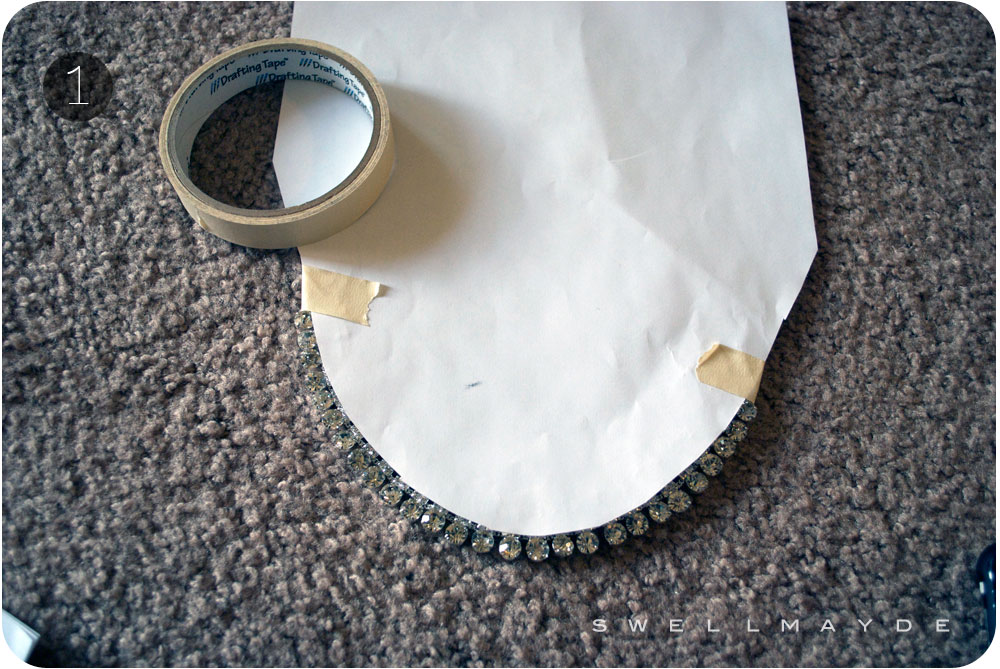
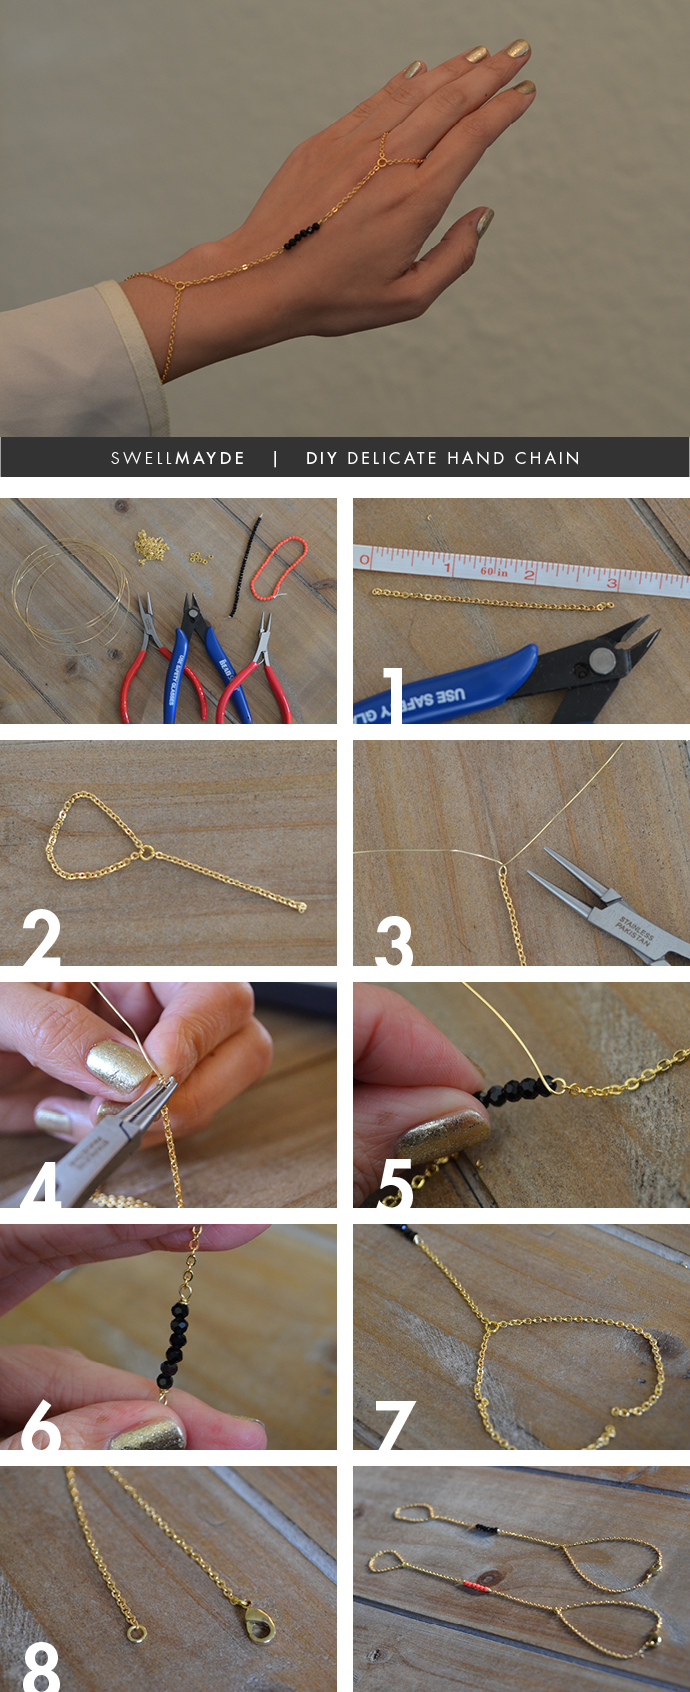
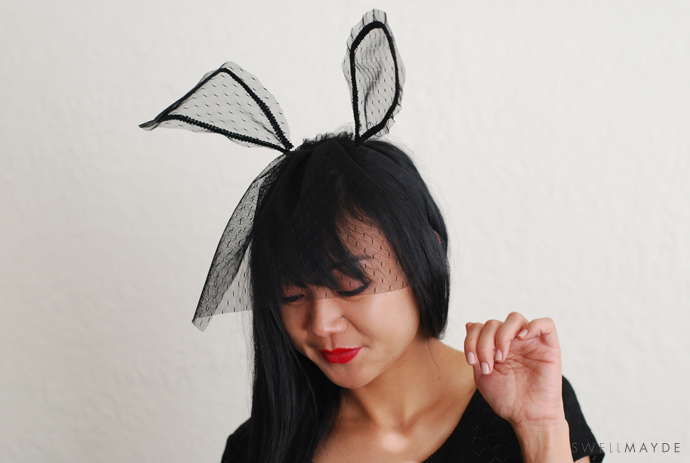 Having just moved into a house after years of living in an apartment, I'm looking forward to passing out candy to the kiddies in our neighborhood this Halloween. I'll be wearing this little DIY all night. Please check out the full tutorial after the break, along with suggestions on what to wear to complete the look.