DIY: Wire Heart Ring
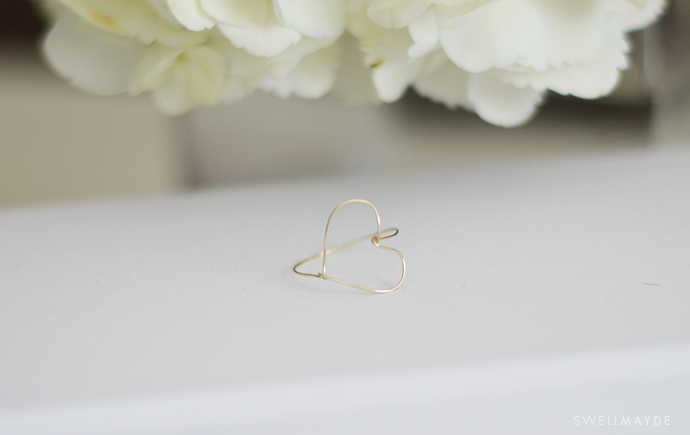
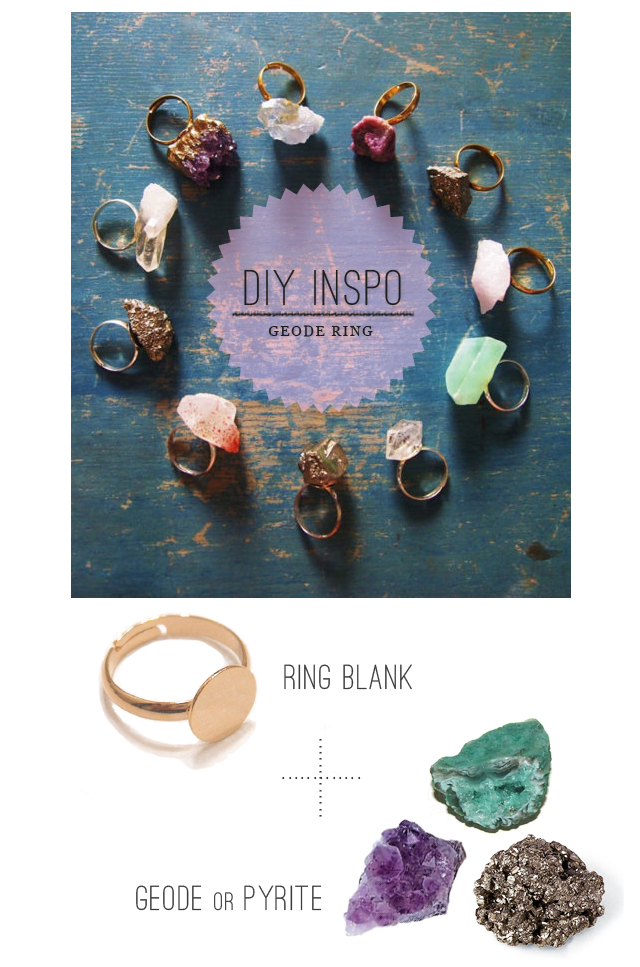
/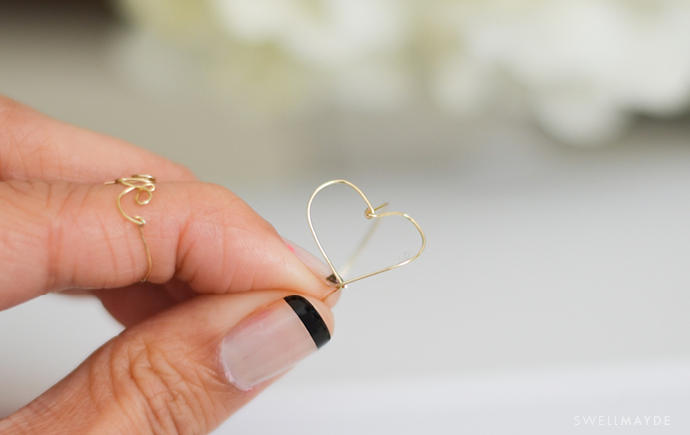 How beautiful is a delicate wire ring? I love stacking them together and even pairing them against opposites, like our chunkier DIY Geode Ring. With Valentine's Day just around the corner, I wanted share this gorgeous wire ring in a delicate heart shape. So perfect for gifting to your loved ones! Make one or ten!
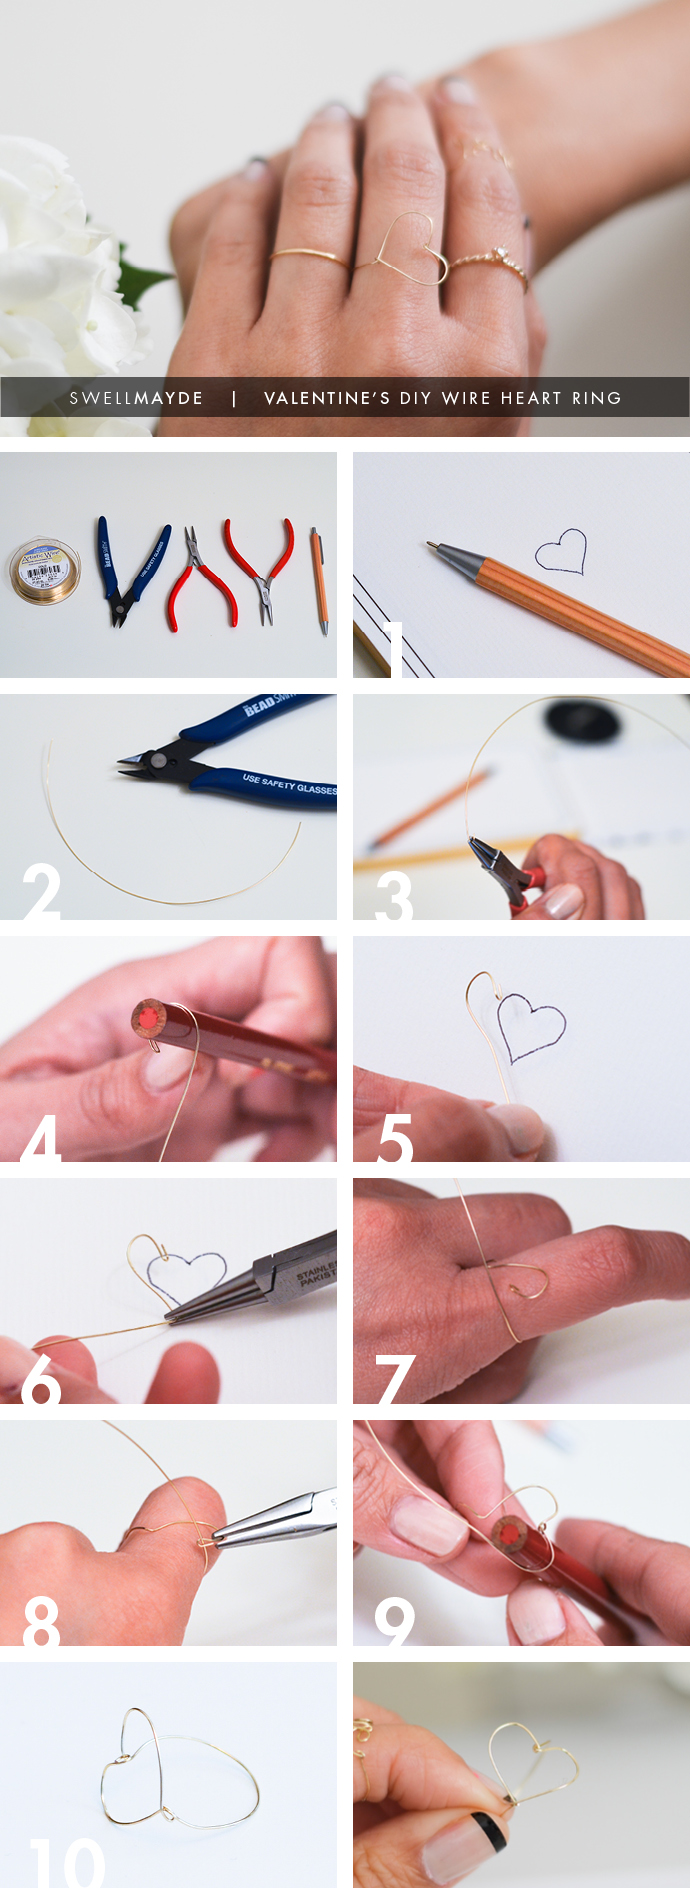
Materials:
- 24 or 26 gauge wire - wire cutter - flat nose pliers - round nose pliers - pen - paper - thin cylinder object like a sharpened color pencil
Steps: 1. Draw a small heart about the width of your finger or smaller. 2. Cut a piece of wire about 6" long. 3. Curve up one of the wire using the round nose pliers, and close it using the flat nose pliers. 4. Using a thin cylinder object (try a colored pencil... I ended using the angled portion of sharpened colored pencil, which created a smaller heart), curve the wire around to mimic the round part of the heart you drew. 5. Straighten out the the wire below the curve to look like the heart your drew. 6. Using your drawn heart as a guideline, angle the wire backwards, with your round nose pliers, where the point of the heart is. 7. Curve the wire around your finger, making sure the half heart is sideways (like photo). 8. Loop the wire through the curved loop you made in step 3. 9. Angle the wire using your round nose pliers to create the invert point at the top of the heart, then curve the other side of the heart to mirror the prior half. 10. Make a loop to create the bottom point of the heart and to connect the ring together. Close the loop using the flat nose pliers.